
Modern defensive success isn’t just about where your team stands on the field. It’s about how you read the game as it happens. The best defenders act on intelligent trigger recognition, making split-second choices to win the ball back.
This proactive style starts by decoding the opponent’s build-up. Players must constantly scan for specific pressing cues. These are visual signals that show what will happen next.
Key signals include a player’s body shape closing off a passing lane. A heavy or awkward first touch is another major cue. So is a telegraphed passing angle that makes the next move obvious.
Mastering these cues is the foundation. It lets a team decide as one: do we press aggressively high up the pitch? Or do we protect space in a deeper block? Your choice depends on reading these real-time triggers.
Understanding these foundational principles is key for any team. You can explore more about soccer pressing tactics, high press, mid-block triggers, and counter-pressing to build your defensive strategy. Spotting the right pressing cues turns reaction into domination.
High Press Triggers (Back Pass, Poor Touch)
Knowing when to press can make all the difference. A constant chase can tire your team out. But, a well-timed press can win the ball back in key spots.
This approach makes pressure a strategic move. Players are trained to spot specific opponent weaknesses. When they see one, they all move forward together.
A risky back pass is a key trigger. It’s a pass made when other options are blocked. The defender or keeper is then under pressure, with little time to react.
Another trigger is a poor first touch by the opponent. A ball that’s not controlled well creates a brief window. This is when your team should strike.
These moments are often forced by smart teams. They use trap zones to funnel play. Wide channels are ideal for this.
Once the ball is in the trap zone, the winger presses hard. They come in at an angle, cutting off the inside pass. This turns a simple pass into a chance for a turnover.
The table below shows how each trigger is set up and executed.
| Trigger | How It’s Forced | Key Player Action | Desired Outcome |
|---|---|---|---|
| Back Pass | Cutting off forward passing lanes with midfield shape, forcing a retreat. | Nearest forward immediately presses the receiver; midfielders step up to intercept check-down passes. | Turnover near opponent’s goal; rushed clearance; goalkeeper mistake. |
| Poor Touch | Applying pressure on the passer to force a rushed, inaccurate ball to a marked player. | Player nearest the receiver closes the distance the instant the ball is miscontrolled. | Direct steal of possession; tackled ball out for a throw-in in advanced area. |
| Play into Wide Trap Zone | Overloading the central areas, inviting (and shepherding) the pass to the flank. | Winger presses the full-back, showing them outside toward the touchline; central players cover inward passes. | Ball is won near touchline; opponent is forced into a long, hopeful ball or loses possession. |
Mastering these triggers can turn defense into a strong attack. It’s not about outrunning the opponent. It’s about being smarter and swarming together to take advantage of their mistakes.
Mid/Low Block Switch Rules
Effective teams have clear rules for when to drop deep and when to stay high. This choice depends on the score, the opponent’s threat, and your team’s energy. It’s a dynamic decision.
A low block focuses on defending the defensive third. It emphasizes being very compact and disciplined. Think of Diego Simeone’s Atlético Madrid midfielders forming a tight line in front of their penalty area.
Winning the ball here means you’re far from the opponent’s goal. This often leads to direct clearances or quick counter-attacks.
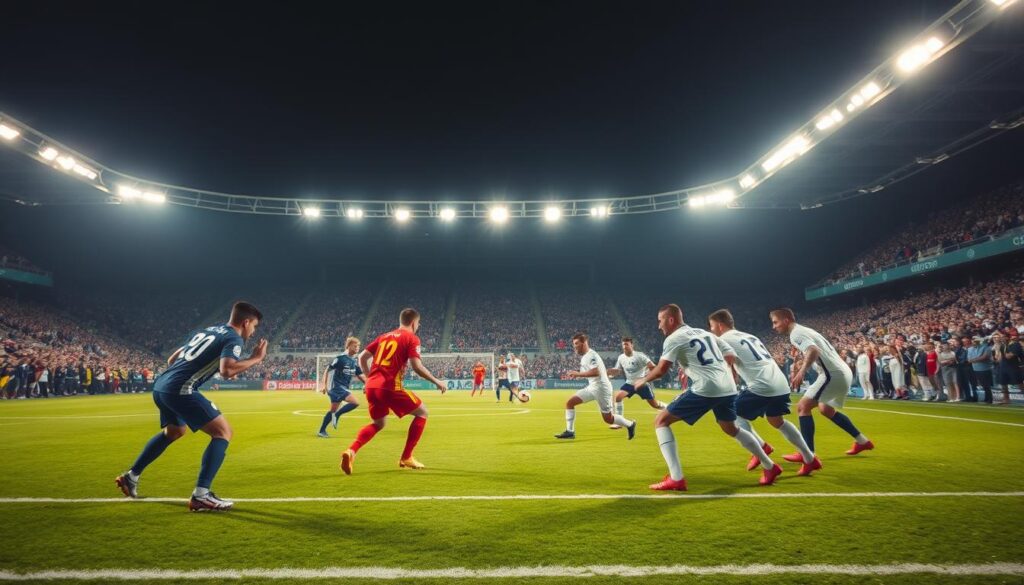
A mid-block aims to control the middle third of the pitch. The unit stays tight and moves together to intercept passes in central areas. As seen in mid-block pressing triggers, players must quickly return to this shape if a press fails.
So, when do you drop into a low block? You do this to protect a lead, give your team a break, or stop fast opponents. José Mourinho’s teams have used this tactic effectively.
You hold a mid-block to disrupt the opponent’s build-up in safer areas. This way, you win the ball closer to their goal.
The key rule is what happens after your press fails. Do you instantly drop back into your block, or do you go for a counter-press? The counter-press is an aggressive move to win the ball back quickly.
Choosing between a quick recovery or a fierce counter-press shows your defensive risk level. These rules aren’t about being defensive or offensive. They’re about controlling the game’s flow.
Mastering when to compact the space and when to contest it is key. It’s what makes teams proactive or reactive.
Designing Trap Zones on Each Side
Effective pressing isn’t just about chasing the ball. It’s about setting up specific areas on the pitch for turnovers. These trap zones are defensive shapes that make opponents make mistakes. The goal is to control the game, making your defensive half your territory.
From a tactical view, the defending team should guide play to the outside channels. Wide areas near the touchline are great for creating traps. Here, space is tight, and passing options are few. This puts the player on the ball in a tough spot.
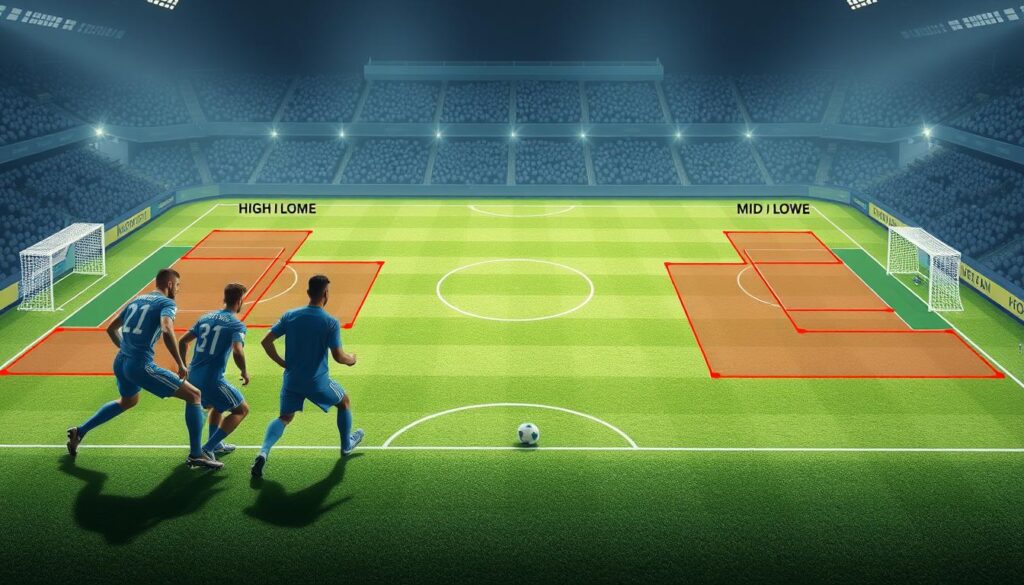
In a 4-2-3-1 setup, certain roles are key. The central attacking midfielder blocks passes into the opponent’s pivot. This is a key pressing cue for the team.
With the central lane blocked, the ball goes to the flanks. The left winger sets the trap here. He angles his approach to force the full-back to the outside, cutting off the inside path. The coaching detail is clear: “wingers forcing play towards the sideline.”
This teamwork creates a trap zone. The full-back gets the ball with his back to the sideline. The winger and midfielders then apply pressure. The trap is sprung.
Trap zones vary across the field. You need different designs for the strong and weak sides. On the strong side, the trap is aggressive and quick. Players close down space fast to win the ball.
On the weak side, the trap is about balance and cover. Players move to protect central spaces and intercept long passes. This side’s trap is more about anticipation than direct pressure. The team must move together to adjust these zones as the ball moves.
The success of trap zones depends on teamwork. Every player must understand their role and the pressing cues. Everyone must stay disciplined in their position. If one player breaks the shape, the trap can be bypassed with a simple pass.
Creating these zones makes defense proactive. You’re not just reacting; you’re directing the attack. By mastering trap zone design, your team wins the ball in better positions. This leads to more scoring chances.
Sub Adjustments for Fresh Pressers
Fatigue slows players down and breaks your defensive system. Even the fittest athletes lose a step as the game goes on. This weakens your press. To fix this, make tactical substitutions before it’s too late.
Your bench is more than just fresh legs. It’s a tool to refresh your defensive strategy. Substitutions for pressers need to be planned, not just a reaction.
First, watch for signs a player needs to be replaced. Look for these key performance drops:
- Slowing Reaction to Triggers: A player who was quick to react now hesitates.
- Expanding Distances: The unit stretches, creating gaps for opponents.
- Declining Sprint Intensity: Pressing runs lose power, letting opponents play out easily.
- Mental Lapses: Players forget pressing commands or don’t communicate.
These signs are critical for your key pressers. Wingers and central midfielders, like a CDM, carry the load. They’re the heart of your defense.
Use the table below to compare a tired presser with what a substitute should bring. This helps make clear, in-game decisions.
| Attribute | Fatigued Presser (Sign to Sub) | Fresh Substitute (Desired Impact) |
|---|---|---|
| Trigger Reaction | Delayed, often a step behind the play | Immediate, explosive first three steps to close space |
| Defensive Distance | Strays from compact unit, creates gaps | Maintains tight, coordinated spacing with the line |
| Communication | Quieter, less directive | Loud, clear instructions to organize teammates |
| High-Intensity Sprints | Number and speed decrease significantly | Can execute multiple full-speed presses in short succession |
When you make the change, clear instructions are key. Tell the new player their specific mission. Don’t just say “work hard.” Give them tactical clarity.
For example, if you’re subbing on a new right winger like Juan or Shakyrius, your instructions might be: “Their left back is tired. I want you to trigger the press on every back pass to him. Force him into the sideline trap zone we set up. Stay tight to our midfield line when we drop.” This refreshes that flank’s pressure.
Bringing on a fresh central midfielder like Kacper lets you strengthen your core. A new CDM can lead the pressing and keep the team tight.
This strategy turns your squad depth into a winning tool in the final minutes. While your opponent’s structure weakens, your fresh intensity can overwhelm them. You’re not just swapping players; you’re fixing your defense’s most critical parts.
Plan these changes before the game. Know who will tire and who to replace them with. Make sure substitutes know the plan. A strategic sub adjustment for fresh pressers can win you the game when it counts.
Metrics to Monitor Live (recoveries, turnovers)
Executing a press moves from plan to live action. Real-time metrics tell you if your strategy works. Track high-intensity recoveries in the attacking third. This signals a successful high press winning the ball near the opponent’s goal.
Forced turnovers in wide areas or your set trap zones are a key performance indicator. Coaching points focus on anticipating interceptions and the team moving as a unit to force a turnover of possession. These live stats show where your pressure is most effective.
Monitor the speed of your team’s counter-press. A swift counter-press after losing possession disrupts the opponent’s transition. It keeps them under constant defensive stress.
Data helps contextualize these metrics. In basketball, systems like the 2-2-1 press have shown forced turnover rates above. Louisville’s 2013 pressure system created turnovers on 20% of opponent possessions. This shows the impact of organized aggression.
Use these live numbers to adapt. A drop in recoveries may mean tightening distances between your lines. If turnovers spike in one zone, shift your pressing focus. This continuous adjustment ensures your defensive pressure remains a weapon for the full game.