
The game is on the line. You’ve earned a dangerous attacking restart just outside the penalty area. This moment is critical. Your choice here could lead to a goal or a missed chance.
Coaches and players often face a tough decision. Should you go for a quick kick to surprise the defense? Or choose a organized set play that your team has practiced?
Deciding on instinct alone is risky. A clear tactical framework is key. It helps your team make quick, high-percentage decisions.
This guide will show you how to make these decisions. We’ll go beyond just free kicks and routines. You’ll learn to analyze the situation, understand your opponents, and act with confidence. The next sections will give you the practical steps to excel in these critical moments.
Threat Assessment (numbers, distance, keeper)
When a restart is given, a quick check of defense starts. Players have about three seconds to scan for threats. This scan shapes the attack plan.
For corners and throw-ins near the goal, this check is key. It’s the first step in deciding what to do next. You need to know if the defense is ready for an attack.
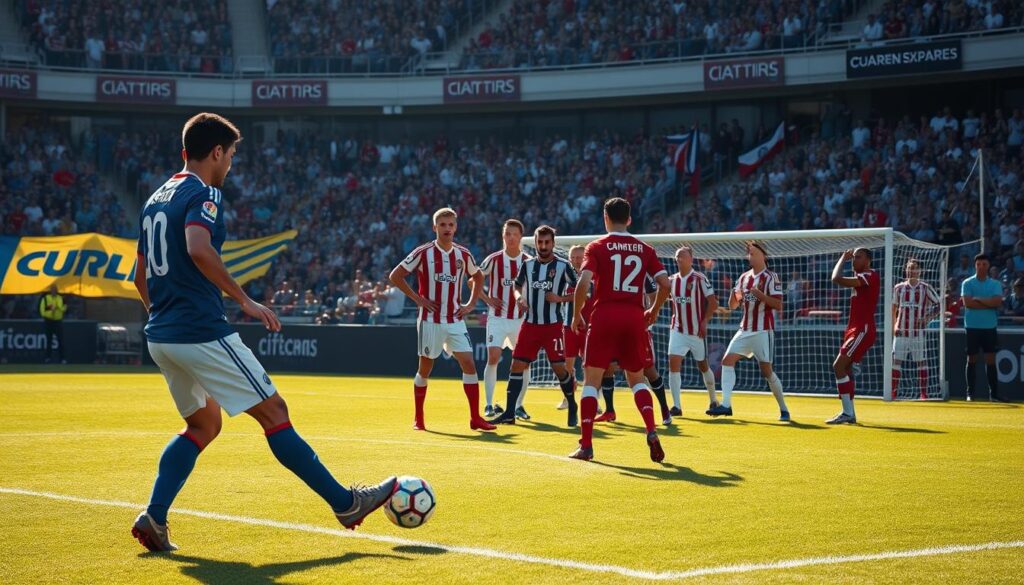
This check has three main parts. You must look at each one carefully every time.
The Three Components of Your Threat Scan
1. Numerical Match-ups in the Penalty Area
First, count the players. How many attackers versus defenders in danger zones? A 3v2 situation is a clear sign to attack.
Look for defenders who are not marking well or are running back. A disorganized defense often creates these chances. This is your cue to act fast.
2. Distance and Angle to Goal
Next, check where the ball is. Is it close enough for a shot or a cross? The angle matters too. A throw-in from the corner of the box is more dangerous than one from the side.
From corners, the usual spot is known. But a short corner can change the game. The closer to goal, the better your shot chance.
3. Goalkeeper Positioning and Alertness
Then, look at the keeper. Are they on their line or a step back? A keeper off their line invites a chip or a shot.
Also, watch their body language. Are they shouting orders or distracted? A keeper focused on organizing is not ready. This moment of distraction is a big weakness.
| Assessment Component | Key Visual Cues | Quick Kick Decision Signal |
|---|---|---|
| Numbers | More attackers than defenders in the box; defenders out of position or slow to organize. | Strong Go – A clear numerical advantage means a high-probability chance. |
| Distance & Angle | Ball within 30 yards and central; clear path for a shot or cross into the 6-yard box. | Conditional Go – Depends on the next two factors aligning. |
| Keeper | Goalkeeper is off their line, turned away, or busy directing teammates. | Critical Go – This cue alone can justify an immediate shot attempt. |
Learning this quick scan turns restarts into powerful attacks. It puts pressure on a defense that’s most vulnerable. The data on defensive actions shows stopping shots starts with disrupting the offense. Your scan does the opposite – it finds weaknesses before they’re fixed.
When all three parts match, it’s time for a quick attack. The defense is off-balance, and you must strike before they recover. If not, you choose a different plan. This scan is the base of smart restart strategies.
Quick Restarts: When to Strike
A quick restart is a chance to catch your opponents off guard. It’s key to know when to act fast. After a foul or a ball out of play, chaos erupts. Your team can use this chaos to their advantage by striking before the opponent sets up their defense.
This choice isn’t made on a whim. It’s based on clear logic, depending on what happens on the field. Learning this logic can turn your team from reactive to proactive.

Think of making this decision as a green light or red light. Green light means go for it. Red light means wait and plan your next move. Below is a table showing when to strike and when to wait.
| Scenario | Green Light (Strike Now!) | Red Light (Wait & Organize) |
|---|---|---|
| Defensive Organization | The wall is forming or is not well set. Opponents are slow to get back on free kicks or mark up on corners. | The defense is set, with a solid wall and all players marked. Your team has no advantage. |
| Player Distraction | Opponents are arguing with the referee or each other. Their focus is off the ball and your movement. | Your own players are distracted, getting instructions, or not ready. Communication is broken. |
| Key Player Position | A primary defensive marker is injured or out of position. Use the gap they leave. | Your key player is not in the attacking zone. You need them for the set-up. |
| Team Shape | Your team is in a good attacking shape from the last play. | Your team is out of shape, with players tired or too deep. You need time to get forward. |
The “if-then” rule is simple. If you see a green light, then the first player to the ball should pass quickly to a teammate in space. The pass must be sharp and the run clear. Hesitation can ruin the chance.
Knowing the importance of set pieces means balancing speed and structure. Quick restarts exploit defensive errors. When it’s red light, switch to your structured set-piece routines. This mix makes your team unpredictable and more dangerous.
Calling the Box Routine vs. Short Corner
Deciding between a high-risk ball into the area and a controlled short routine depends on the game’s context and player strengths. When a quick restart isn’t possible, this choice shows your team’s risk level. You must balance the quick reward of a box play with the patient build-up of a short option.
The classic box routine aims for chaos. It’s simple: get the ball into a crowded penalty area. Target your best aerial threats and hope for a knockdown, flick-on, or direct finish.
This method needs tall, physical players who excel in the air. It also requires precise delivery from the thrower or corner taker.
The risk/reward is extreme. A successful delivery can lead to an immediate goal-scoring chance. But, a cleared ball often results in a lost possession and a dangerous counter-attack for the opponent.
A short corner or clever throw-ins routine focuses on keeping the ball. The goal is to retain the ball and recycle the attack. This creates a new attacking sequence from a more controlled position.
This method needs technically secure players. It relies on quick passing, smart movement, and spatial awareness. The outcome is a lower-risk chance to probe a defense that has just settled into its shape.
Use this comparison to guide your decision:
| Factor | Box Routine | Short Corner / Throw-in |
|---|---|---|
| Primary Objective | Direct goal-scoring chance | Retain possession, re-cycle attack |
| Key Personnel | Aerial specialists, accurate deliverer | Technicians, players with good close control |
| Risk Level | High | Low to Moderate |
| Expected Outcome | High-variance (shot, foul, clearance) | Sustained pressure, crossing opportunity |
Your choice should never be random. Several critical factors must influence the call:
- Game Context: Is your team leading, tied, or trailing? Protecting a lead might favor a safer short option.
- Scoreline: Needing a late goal could justify the high-risk box play.
- Player Strengths: Do you have a dominant player in the air? If not, forcing a long throw may be wasteful.
- Opponent Weakness: Has their defense struggled with set-piece marking? Exploit that.
Smart teams master both types of routines. They train the decision-making process as much as the execution. The best call blends clear strategy with a sharp read of the moment.
Practice Menu (3 Attacking, 2 Short, 2 Decoy)
Turning tactical theory into action on the field needs a solid practice menu. It focuses on repetition and clarity. This approach helps players develop the muscle memory and understanding needed for game day.
The menu includes three attacking routines for balls into the box, two short patterns, and two decoy movements. Each drill has a specific role and connects with others.
These drills help players finish chances from crosses. Repetition builds instinct.
- Near-Post Flick: One attacker makes a sharp, timed run to the front post. Their job is to redirect the ball, either toward goal or across the face. This disrupts the goalkeeper’s line.
- Far-Post Run: A player starts from a deeper position and attacks the back post at full speed. This targets spaces often left open as defenders ball-watch. Timing the cross is critical.
- Penalty Spot Scramble: Two attackers converge on the penalty spot from different angles. Their movement creates confusion. The goal is to win the second ball or a knockdown from a teammate.
Two Short-Corner and Throw-In Patterns
Short patterns break down packed defenses. They create new angles and passing lanes.
The first short-corner routine involves a quick pass to a teammate at the edge of the box. This player then delivers a low, driven cross. It catches defenders who are organizing.
The second pattern uses a throw-in to trigger an overload. Three players combine in a tight triangle to beat immediate pressure. The third pass is a switch to a late runner at the far post.
Two Essential Decoy Movements
Decoys are the invisible work that creates space. They are just as important as the finish.
- The Curved Run: An attacker makes a run that arcs away from the intended target zone. This pulls a defender with them, opening a gap for a teammate.
- The Block and Drift: A player briefly steps in front of a key defender, screening them. Then, they quickly drift into a different area, creating indecision.
These decoys must be practiced with the same intensity as the finishing runs. Players need to sell the fake with full commitment.
| Drill Type | Routine Name | Primary Objective | Key Player Roles |
|---|---|---|---|
| Attacking Routine | Near-Post Flick | Redirect service, disrupt keeper | Flicker, Crosser, Trailer |
| Attacking Routine | Far-Post Run | Attack space behind defense | Runner, Crosser, Distractor |
| Attacking Routine | Penalty Spot Scramble | Win second balls, create chaos | Two Converging Attackers |
| Short Pattern | Driven Cross Corner | Create new crossing angle quickly | Short Passer, Driver, Target |
| Short Pattern | Throw-In Triangle | Beat pressure, switch point of attack | Thrower, Two Wall Players, Runner |
| Decoy Movement | Curved Run | Pull defender out of position | Decoy Runner, Primary Target |
| Decoy Movement | Block and Drift | Screen defender, then create space | Blocker, Drifter |
Run this menu in cycles. Start slow to explain roles and spacing. Then, add live defenders and increase the tempo. Consistency in training builds the automatic reactions you see in top teams.
For free kicks from wide areas, use the attacking routines. For corners, mix the attacking routines with the short patterns. Always integrate the decoy movements to make everything work. This complete framework turns your set-piece planning into real goals.
Post-Set Piece KPI Sheet
Executing your set-piece plan is key. It’s important to measure its success to improve. A simple Key Performance Indicator sheet helps turn feelings into facts.
Track how often you try quick restarts versus those that lead to clear chances. This shows if your plan and decisions are working. For throw-ins, note if a quick launch or a structured routine worked better.
Record how often goals come from direct box routines versus short corners. This helps you decide in the moment.
Also, track your defensive transition success rate. See how often you regain shape after a set piece fails. This is key for managing the game.
Weekly analysis of this KPI sheet shows patterns. You might find quick restarts fail against certain teams. Short corner routines might need more practice. Use these insights to improve your practice and decision-making.
Stop guessing. Let data lead your set-piece improvement. Make every free kick, corner, and throw-in more effective.